Google Ads Remarketing
Google Ads Remarketing is a great tool that allows you to bring visitors back to your website. For instance, a user has already visited your site, and you want to remind them about it. Or the user viewed a product but didn’t make a purchase, and you want to remind them about that product and bring them back to the site.
You can order remarketing setup here
To achieve this, you need to set up remarketing in Google Ads, which allows you to create an ad campaign targeting people who have previously visited your website. They will see your ads on other Google partner sites, which covers almost the entire internet. Now, let’s go through the detailed setup process of remarketing in Google Ads.
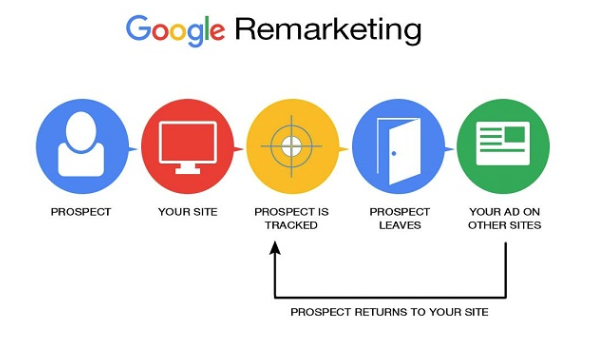
Setting Up Remarketing Through Google Ads
- First, we need to set up the remarketing tag, which will track visitors on your site, adding them to a specific audience.
- In the upper right corner, click on the wrench icon – “Tools, billing, and settings”. In the window that appears, click on “Audience Manager” – “Data sources”.

- Click “Set up tag” and copy the remarketing code provided by Google Ads.
- The Google remarketing tag needs to be installed on all pages of your site before the closing </head> tag. You can do this yourself or give it to your programmer. The procedure usually takes no more than a minute.
Creating a Remarketing Audience in Google Ads
- Now that the Google remarketing tag is installed, we need to create an audience – that is, remarketing lists – to specify to Google Ads which visitors we are interested in. To do this, click on the wrench icon again and go to the audience manager.
- Select “Segments” and click the + button.
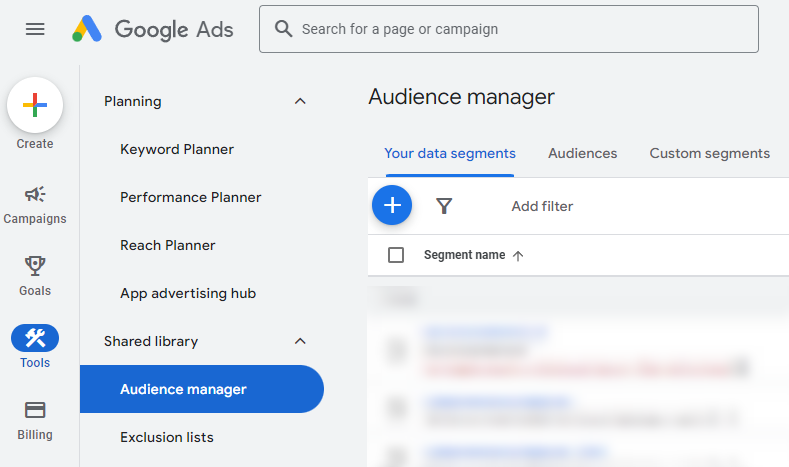
Remarketing List – is a set of user selection criteria for displaying ads. For example, you can create a list of users who visited the cart but didn’t make a purchase. Or simply select all website visitors.
- In the drop-down list, select “Website visitors” for this tutorial example, but we suggest experimenting with different options.
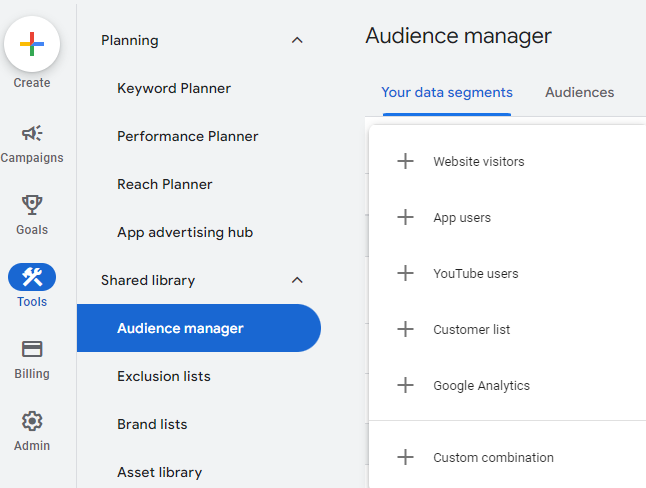
- After selecting “Website visitors”, you will be taken to the audience setup page. Here you can name the audience. We recommend naming it to reflect its purpose, e.g., “All_visitors_30_days”.
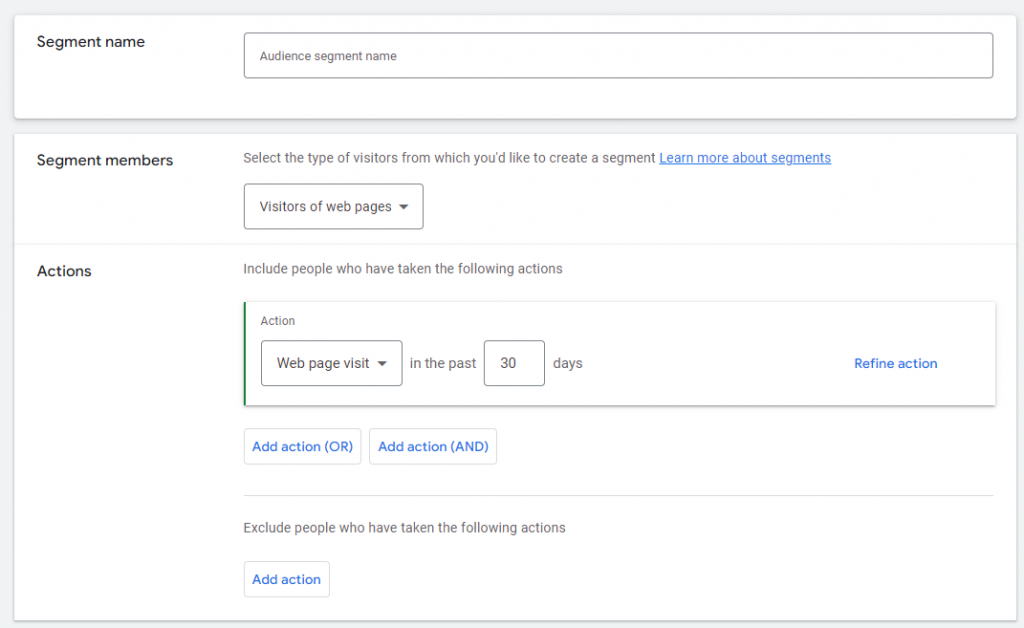
- In this example, we want to track all website visitors over the past 30 days and show them ads on other Google partner sites. To do this, in the “Visited page” field, enter your site’s domain – “site.ua/” – and in the drop-down list on the right, select “contains”.
With this setup, users will be added to the audience if the URL of the page they visited contains the domain name “site.ua/”. You can choose a specific page, such as the cart, or something else, depending on your goals.
- Next, select the membership duration. We’ll set it to 30 days. Optionally, you can add a brief description of the audience to remember its purpose. Click “Create audience”.
Setting Up Remarketing Audiences in Google Analytics
The second method of creating an audience, and perhaps the most accurate, is setting up remarketing in Google Analytics. If you plan to run ads on your site, you need an analytics system to track the effectiveness of your ads. Therefore, you first need to install the Google Analytics tracking code on your site. For details on how to do this, read this article.
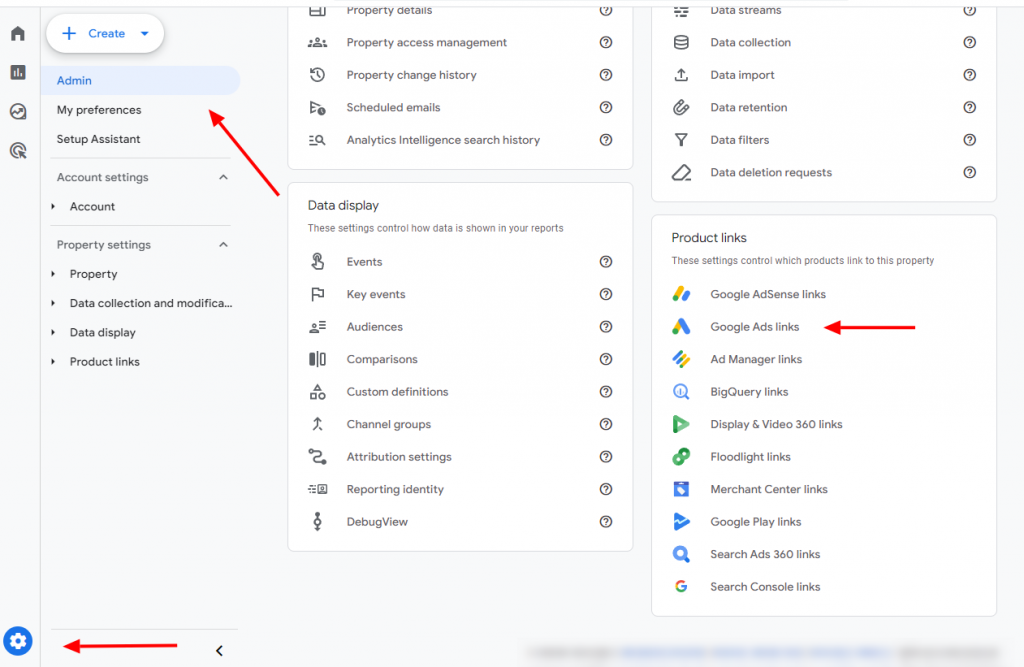
- Next, we need to link Google Ads and Google Analytics accounts. To do this, in the menu, select the Admin tab; you will see three columns. We’re interested in the middle column, “Property”. Click on “Google Ads Linking” and follow the instructions. Note that to simplify the process, Google Ads and Analytics should be on the same Google account.
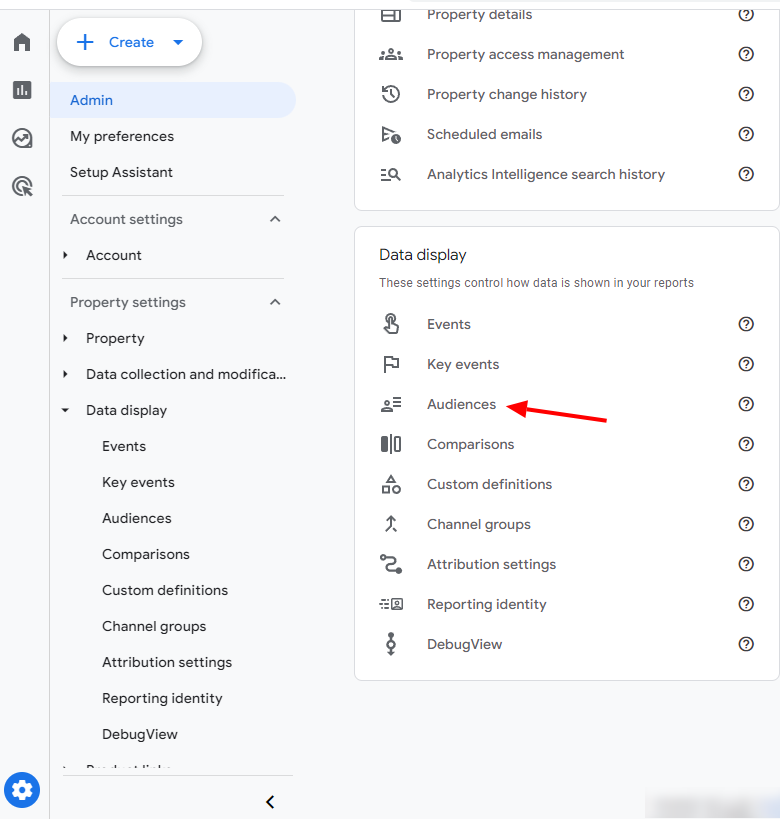
- Great, now create the audience that we will show ads to. In the same column, click on “Audiences”.
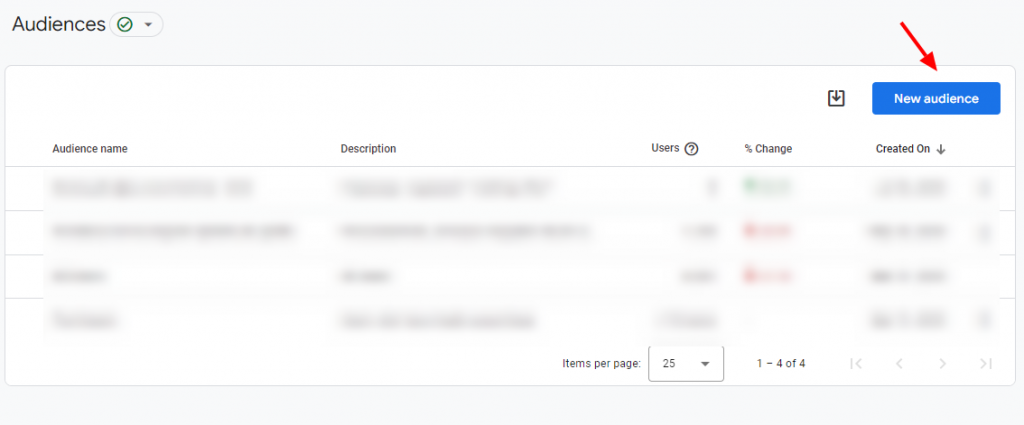
Add a new audience.
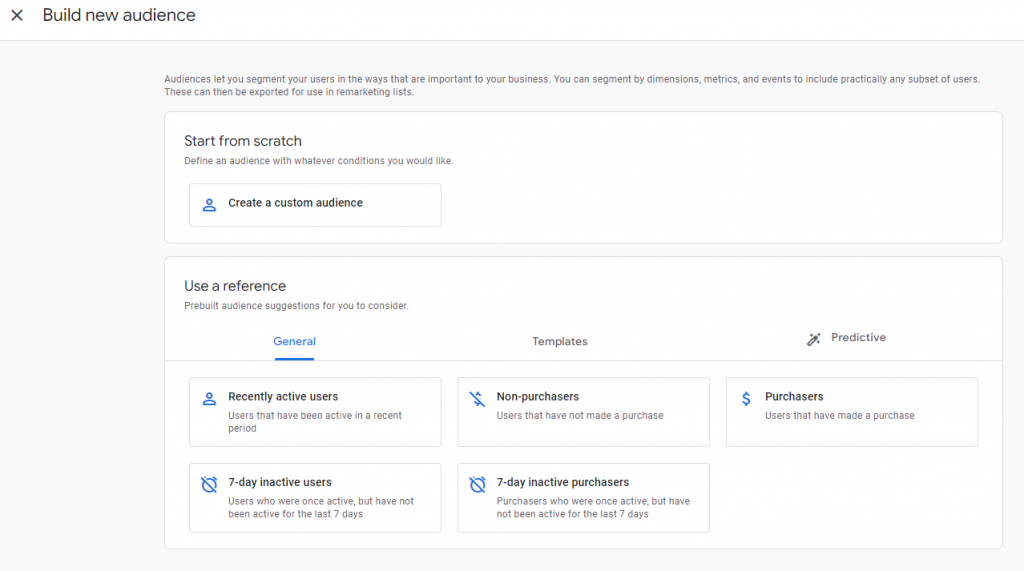
- Set up this audience, for example, by selecting “All Users” for a specific period. In this case, the ad will be shown to everyone who has visited your site within a given period (default is 30 days). Name the audience.
Done. Now go to your Google Ads account.
Setting Up a Remarketing Campaign in Google Ads
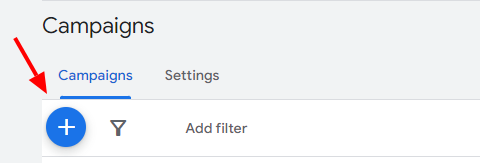
- Create a new campaign, select “Display Network” – “Create a campaign without a goal’s guidance”.
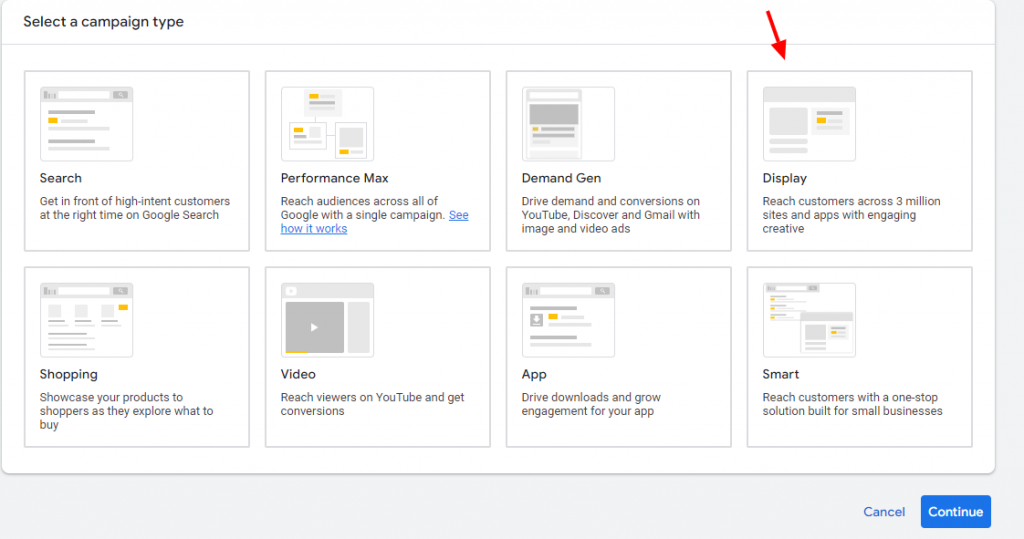
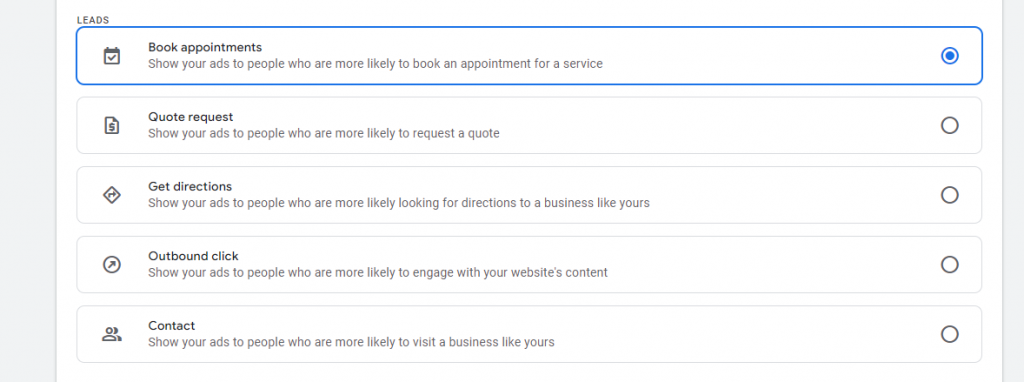
- Choose goals you would like to focus on. Click “Continue”.
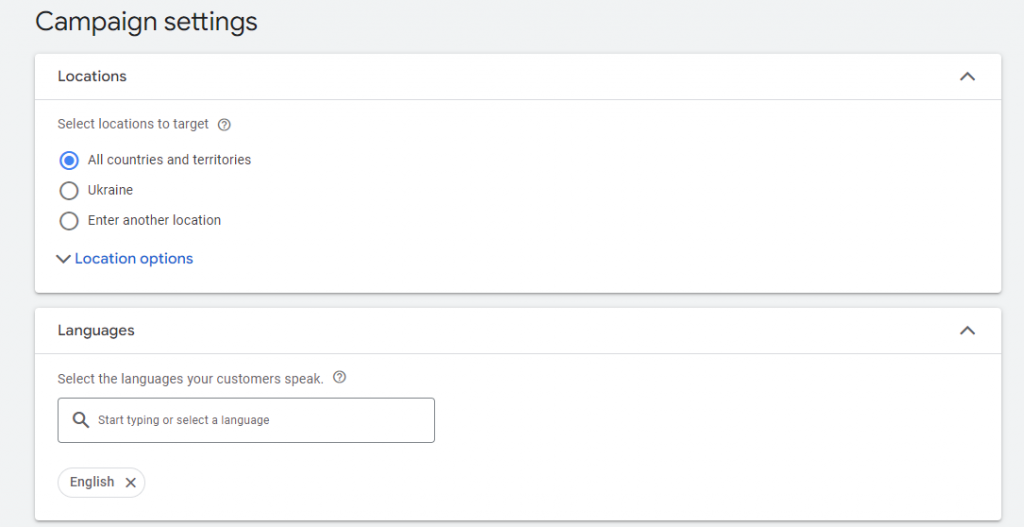
- Next, in the settings, write the campaign name, select the display location and language. These are the languages usually set in users’ browser settings.
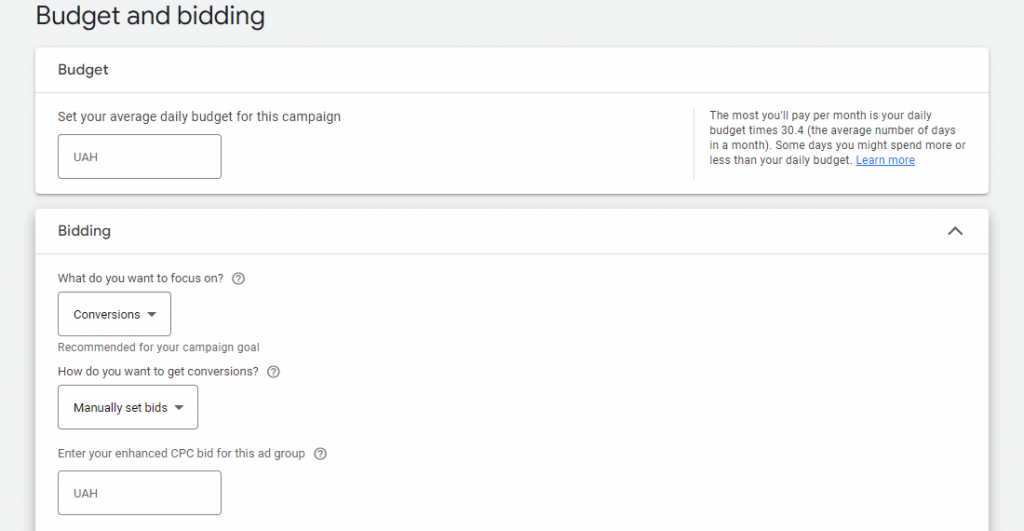
- Then scroll down and select a bidding strategy. We recommend setting “Manually set bids”.
- Set the daily budget – the amount you are willing to spend on the campaign in one day.
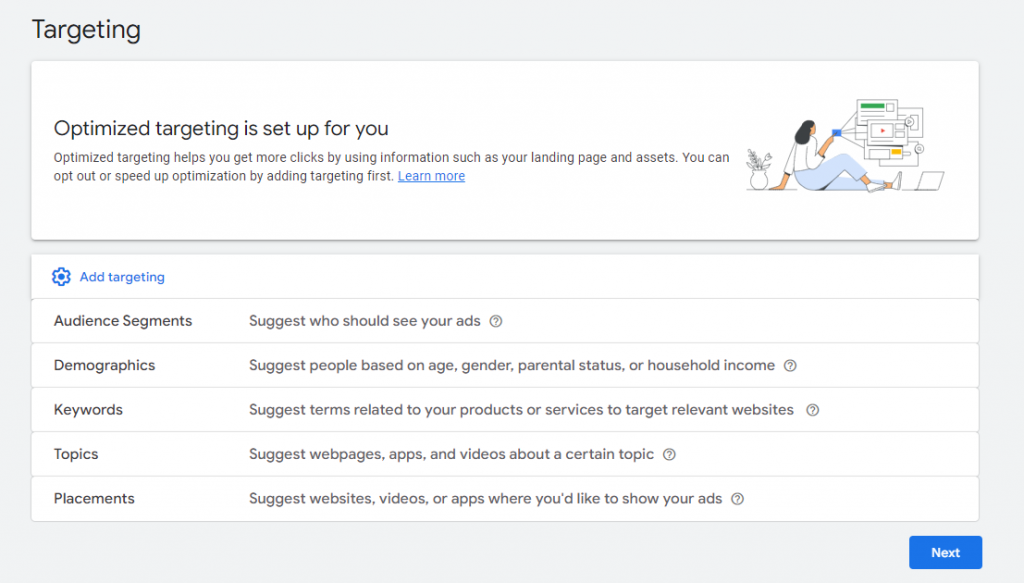
- Then setup Targeting. It is here that you can target a remarketing audience if you have transferred it from Google Analytics.
In campaign settings we recommend paying attention to 2 points:
Ad Frequency. We recommend limiting the frequency to no more than 3 times a day per ad group. There’s no need to annoy people.
Location Options. Change targeting to “People in your targeted location”. This will ensure precise targeting. By default, it is set to “People in, or interested in, your targeted location”. This option means that if a user is not physically present in the location where you are showing the ad, but Google considers that the person is interested in this place (for example, previously entered queries with the desired word), the ad will be shown to them. If you have a strict location tie (e.g., a store located in a specific city), it makes no sense to show ads to people who are only interested in your city but do not live there.
- And finally, set up your ad.
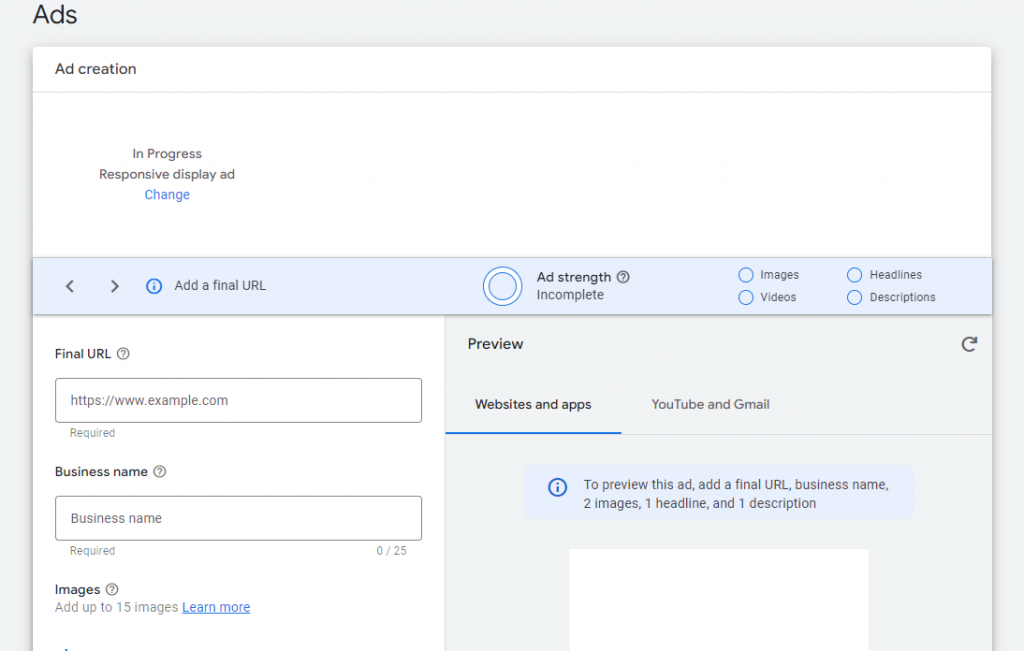
On the right, we have a preview window where we can see how our ad looks in different formats.
Set the settings, click save, and that’s it. The ad is created.
Next, Google Ads will turn all this into a responsive ad that will be displayed on all sites of the Display Network. Now you know how to set up Google Ads remarketing. Good luck!
